How do I start screen printing at home?
CHOOSING YOUR SUPPLIES
You can go as DIY or as professional as you like when gathering your supplies, but ultimately, you’ll need the following elements:
- A screen. This could be a purchased screen or a simple DIY wooden frame with polyester mesh. A purchased screen saves a lot of heartache and will dramatically increase your chances of early success.
- A squeegee to consistently push ink through the screen.
- Quality screen printing ink in your preferred colours. Water-based screen-printing ink is a great choice, because it’s safer for the environment and easier to clean up and safer for you to use.
- Stencil paper and an Exacto or Stanley knife to make your own designs.
- Some tape to securely attach your stencil to the screen or to tape the outside edges of the screen so that the ink doesn’t go into the corners of the screen
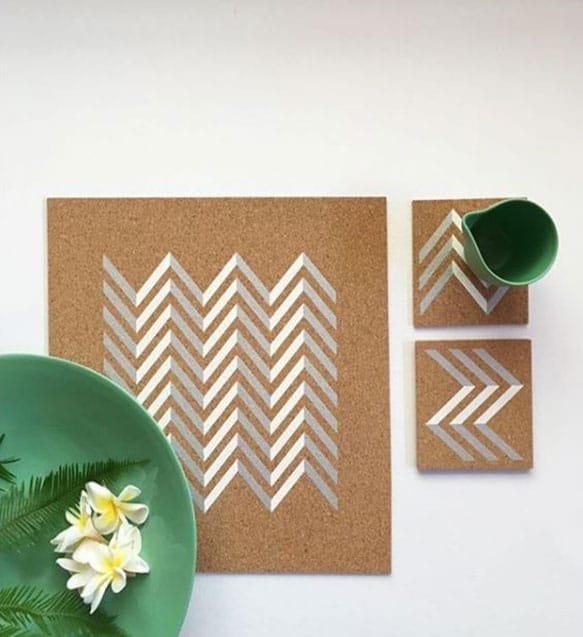
- Paper, board, fabric or textiles to print onto. To start with, you could use a pillow case, a calico tote bag, a blank tea towel or a plain white T-shirt or light carboard if you’re making cards.
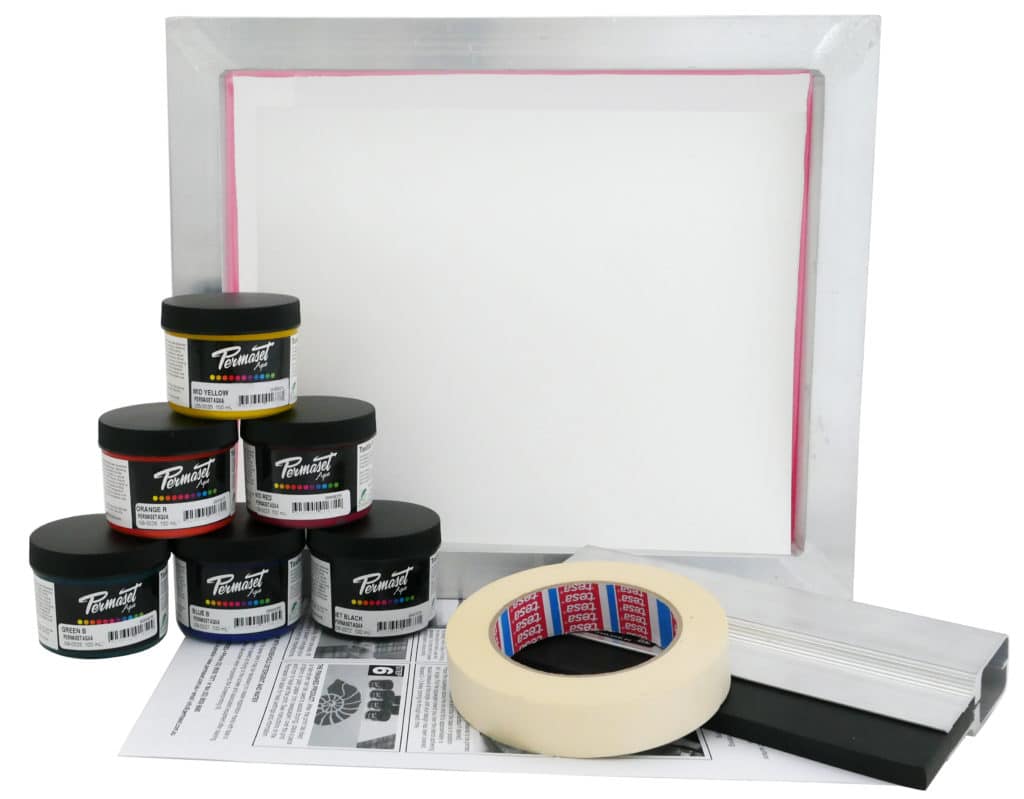
Tip: The PERMASET complete screen printing kit is the perfect way to get started with textile printing. It includes a silk screen, squeegee, stencil paper sheets, masking tape, instructions and 6×100 mL jars of PERMASET AQUA colours that mix together beautifully.
PREPARING YOUR SCREEN
You can create your design and prepare your screen in a number of ways, but here are the two most common options to create the areas where the ink can and cannot pass through onto the printed surface.
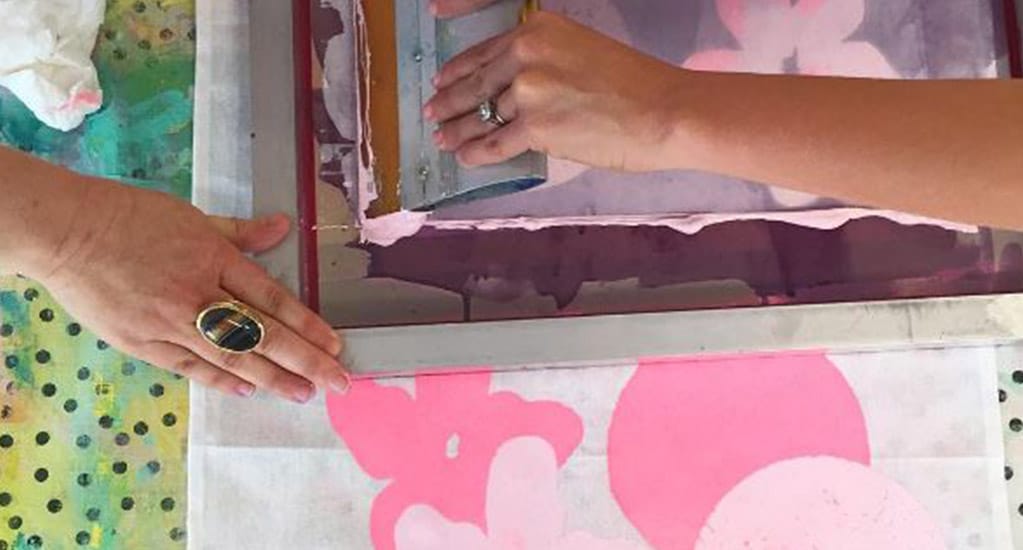
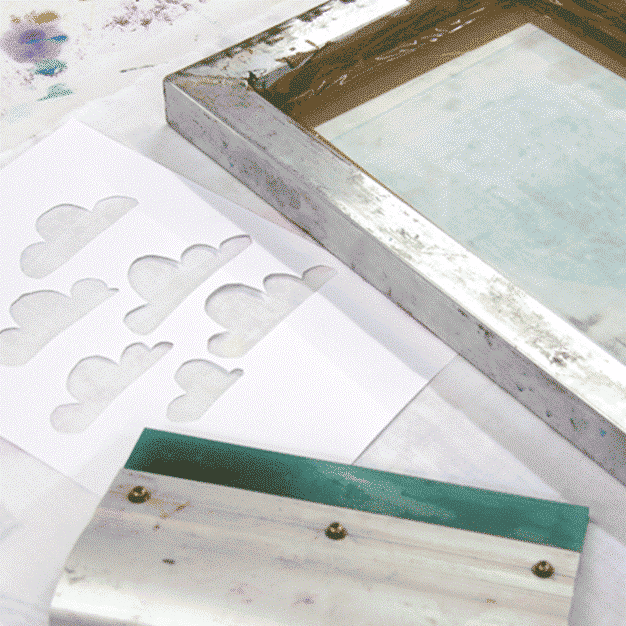
- The first method, which is great for home beginners, is to create a physical stencil which can then be taped against the screen. You could simply print or trace out a design onto a sheet of stencil paper. Then use scissors or a craft knife (preferred) to cut the shapes out. This is a fantastic option if you want to reuse your screen for multiple designs or for printing different coloured inks in your design.
- The second method, typically used by professional screen printers, uses a light-sensitive photo emulsion to prepare the screen. You’ll need to coat the screen with a thin layer of emulsion and let it dry in a dark place. Print your design onto an acetate or transparent sheet, place it reversed onto the screen and expose it to a light source as instructed. Then, wash out the uncured emulsion with water and let the emulsion fully dry and harden. You should see your design clearly at this stage. Here is a link to a video showing an easy way to prepare a design for screen printing using emulsion. Many print supply services can take a design and produce the exposed screen for you but note that there will be a learning curve in preparing the artwork.
Tip: Your design could be a minimalist one colour print or use multiple layers to build a more complex design with a number of colours. It is best to start simple with just one or two colours and work up from there!
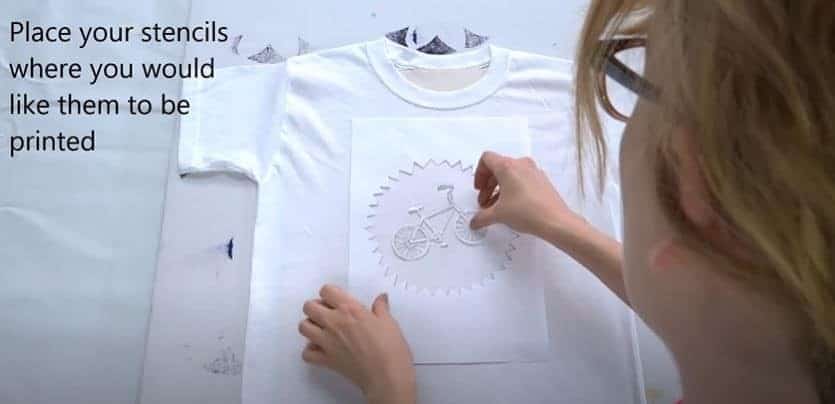
This video by Handprinted UK shows you how to screen print onto fabric using paper stencils.
MAKING THE PRINT
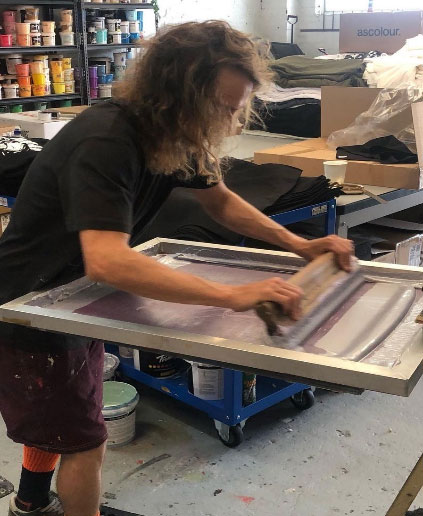
Screen print time! Use some Table Adhesive to secure your paper or fabric to the table, then line up your screen so the design is positioned correctly. While professional screen printers use a screen printing press or carousel, at home you could use clamps to hold your screen in place. Place a decent amount of ink at the top of the screen. When using water-based inks it is best practice to flood the screen with ink, both before your first print and between print strokes. Checkout this short video showing you how to flood the screen.
To flood, draw the squeegee towards you with no pressure to first flood the screen with a thin but uniform layer of ink. Then, draw the squeegee towards you again, but this time with firm pressure and at an angle that is a little (say 15°) off vertical. This will push the ink through the screen and onto the layer/print surface below. It’s good to do two layers of ink, that is two pulls. Lift up your screen carefully but quickly and admire the results, before giving your screen and squeegee a thorough rinse with water. Water-based inks must be washed out of the screen with water quickly so as not to dry in the screen
Tip: If printing onto a T-shirt, be sure to slip a piece of cardboard inside first to avoid ink seeping through to the second layer.
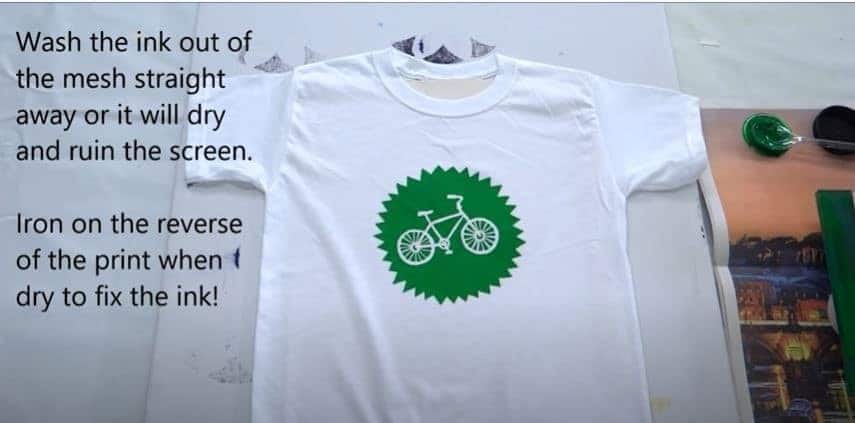
CURING THE PRINT
You’ll want to let your design dry thoroughly and then cure it to avoid the design washing or rubbing off over time. Fortunately, with PERMASET water-based inks you can cure designs easily by applying a hot iron on the cotton setting for 2-3 minutes, or by leaving the print in good sunlight for a few hours, up to a full day. There are number of ways you can cure your print outlined here. Now you can sit back and bask in the knowledge that you’ve just aced your first screen print!
Checkout this video detailing how to screen print simply using PERMASET Inks.
Keen to get started?
Order your PERMASET complete screen-printing kit or screen printing inks now.
© COLORMAKER INDUSTRIES 2021
Subscribe to get the latest inspiration, news & advice direct to your inbox
More articles
 @imearthie
Clothing label I’m Earthie shares how they strive to be a truly sustainable brand
Clothing label I’m Earthie shares how they strive to be a truly sustainable brand