How to create a wall mural
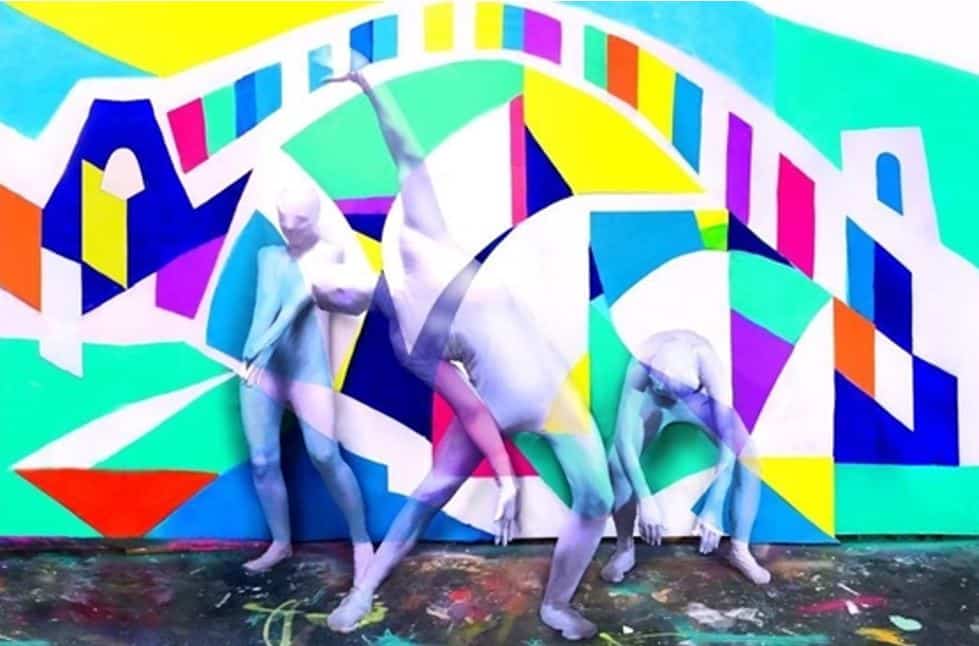
If you’ve ever admired a vibrant wall mural and thought, “I want to do that!”, then now’s the time to jump right into the world of scenic painting. All you need is a wall, the right type of paint, some basic equipment and the correct techniques to develop your design.
Common scenic painting techniques
Whilst every mural artist has their own unique style, following are some of the most common processes and techniques you can incorporate into your scenic painting project.
Applying base colours
Starting with a fresh base coat in an appropriate colour for your design is an ideal way to begin a new mural. If you’re painting over a dark background and your mural is in light colours, there are two PERMACRYLIK undercoats you can use. PERMACRYLIK Acrylic Sealer Undercoat in White, or PERMACRYLIK N23 Grey Primer. The PERMACRYLIK N23 Grey Primer is a great base to use if you are wishing to paint PERMACRYLIK Glow colours in your design as it helps them stand out.
Planning your design
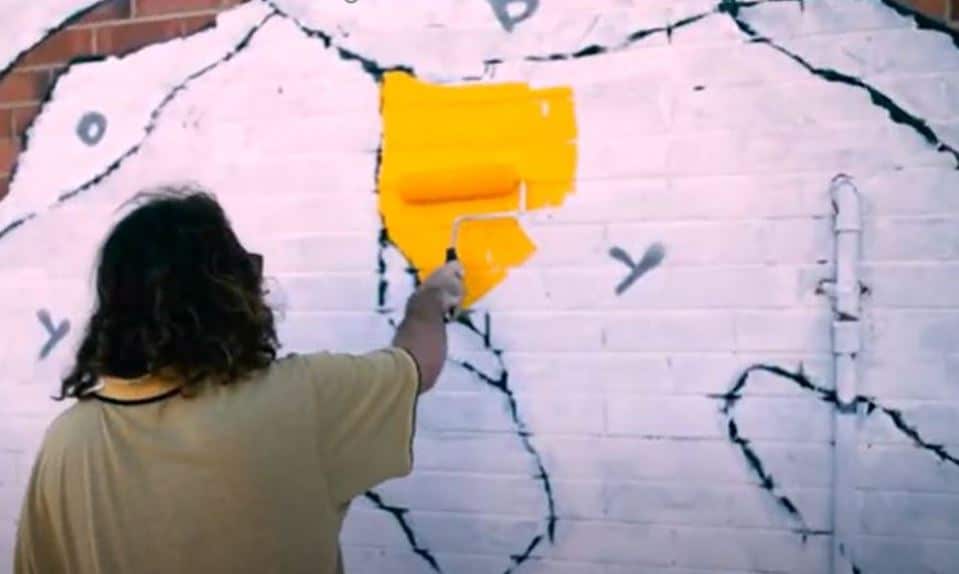
While some mural artists paint instinctively, others will begin with a smaller drawing as a draft. Once the base coat is down, sketch out your design in pencil onto the wall to get the proportions right across the surface.
Projecting the design up onto the wall
Some artists prepare a small drawing, then project that design onto the wall using a projector. With this method, you can trace over the projected design, making a line drawing on the wall which ensures that you will get the proportions of your mural correct.
Taping and stencilling
While this isn’t a common technique amongst mural artists, using stencils and tape can help you to paint sections consistently and ensure clean edges, if this is required for your design.
Painting
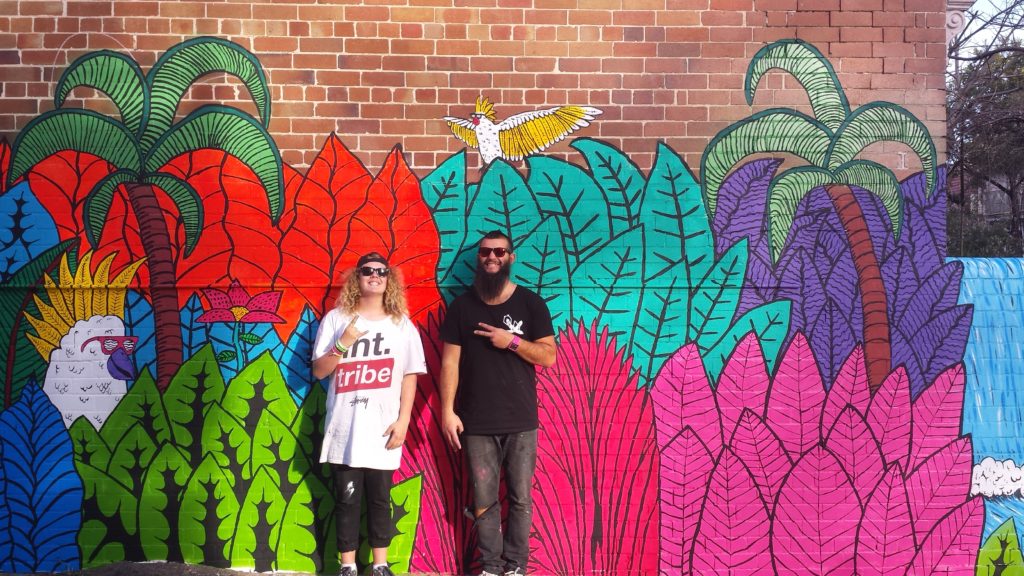
The best part of all is when you can finally grab your paint brushes and enjoy the satisfaction as that paint goes on smoothly. Contrasting colours can help to create dynamic and eye-catching imagery.
Outlining
Depending on your style, adding clean outlines around different sections can help to convey contrast and dimension. Outlines can be added with a fine paintbrush or a paint pen, such as a Uni-Posca pen.
Sponging and stippling
Both of these techniques can be great for adding shading to larger areas without detailed work. Sponging and stippling can also be effective for painting on uneven surfaces.
- To sponge, simply dampen a sponge with water, dip it into your paint, squeeze out the excess and dab onto the surface.
- To stipple, apply small dabs from a paint brush across the area to be shaded.
Adding fresh elements
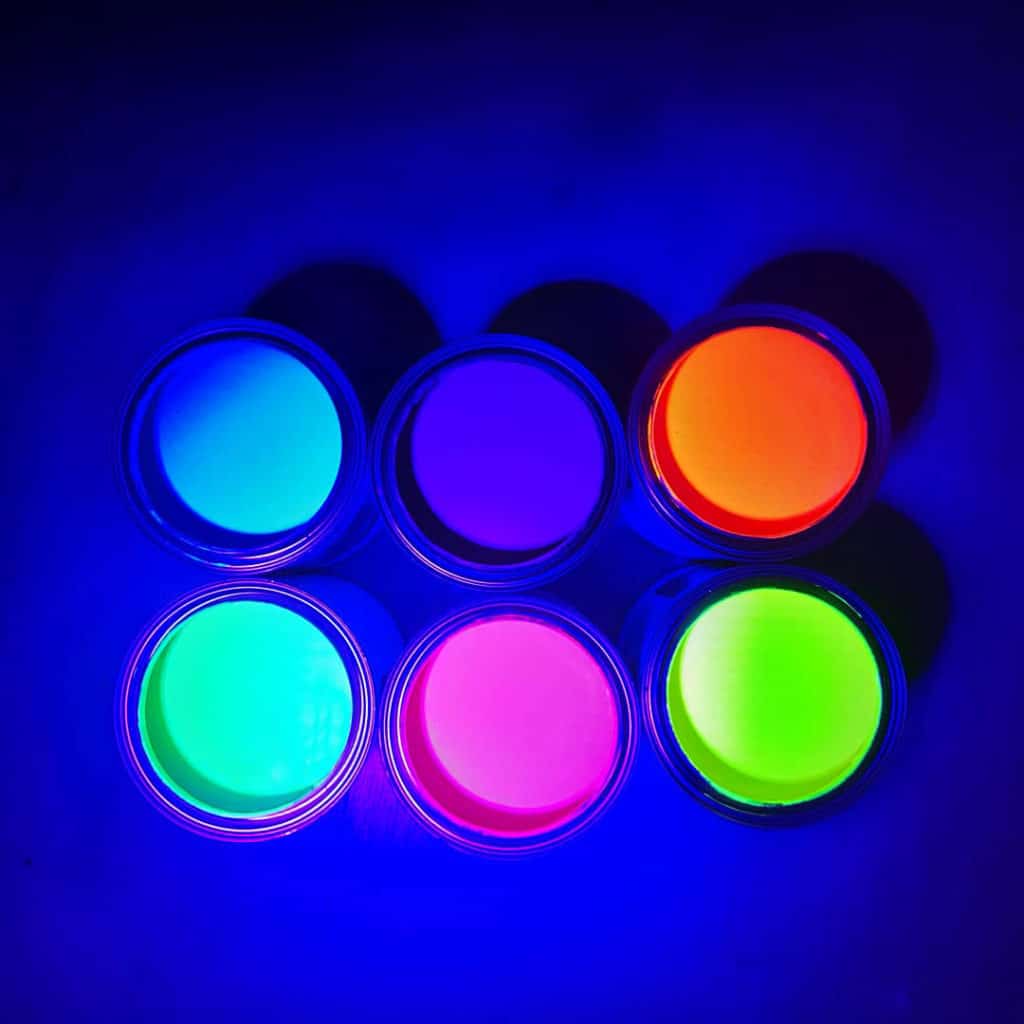
There are many options to bring an extra level of interest to your murals, including Metallic and Glow paint colours (or fluoro colours) that glow under a UV light source.
Finding the right water-based paint for your mural
Water-based scenic paints provide vivid and durable results for indoor wall murals plus it’s much easier to clean up your equipment with just water; it’s also a lot better for the environment. For outdoor murals, almost all Glow colours fade quite quickly (3-4 weeks) in direct sunlight, so it’s best to overcoat your mural with the PERMACRYLIK Clear Gloss or Clear Matt Varnish once it’s completed to provide slightly greater longevity of colour.
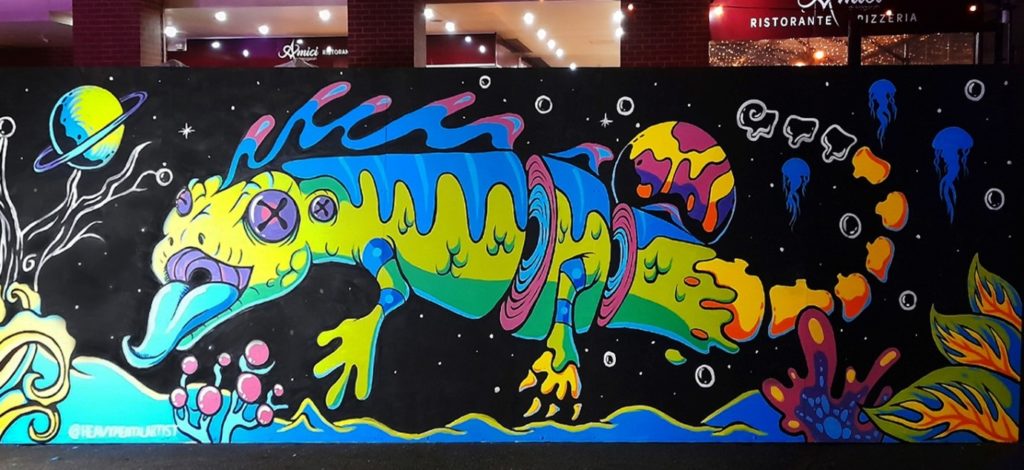
Alternatively, Colormaker Industries can provide a much more fade-resistant range of bright mural colours for painting outdoor murals, please contact us on 02 9939 7977 for more information.
PERMACRYLIK® scenic paints can be used across a range of applications from murals to fine art. They have also been used on film sets for blockbuster movies including Star Wars, The Matrix, Mad Max: Fury Road and Wolverine.
For further information about the PERMACRYLIK range and the colours available, click here.
© COLORMAKER INDUSTRIES 2021
Subscribe to get the latest inspiration, news & advice direct to your inbox
More articles
 @imearthie
Clothing label I’m Earthie shares how they strive to be a truly sustainable brand
Clothing label I’m Earthie shares how they strive to be a truly sustainable brand
