How to expose a design for screen printing
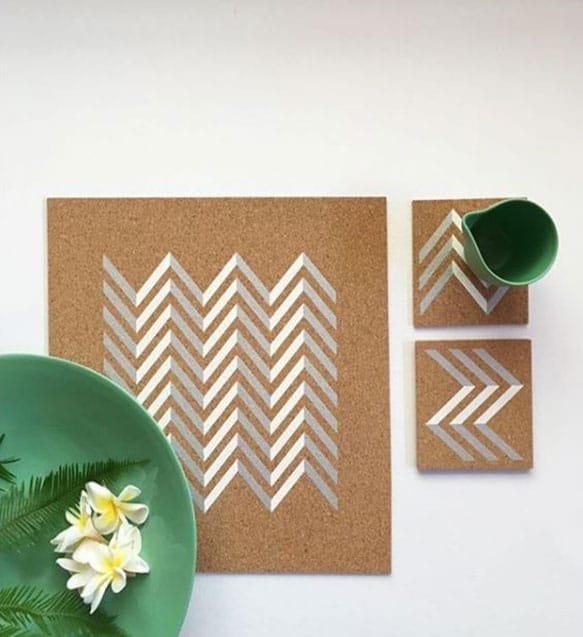
Dying to try making your own screen prints? It’s pretty easy once you get the hang of it and the results can be especially good when you use eco-friendly ink for screen printing.
Before you whip out those eco-friendly inks however, there’s one crucial thing you’ll need, and that of course is your design on a screen. This is easily achieved by applying a photosensitive emulsion on a blank screen, letting it dry overnight in the dark, and then exposing it to the light with your design (printed in black on a piece of transparent film) placed right on top of it.
The idea is that the photosensitive emulsion reacts under the light, causing it to cure hard and bind to the screen mesh. Wherever the light is blocked by your design printed on the film, the emulsion will remain water-soluble and can thus be easily washed off. The result after washing out the screen is your design appearing as a clear area on the screen, with the rest of the screen blocked out by the emulsion!
The process of exposing your design on a screen seems simple enough, but the practicalities of it can be a little confusing, especially for those who are new to screen printing. How much time is needed to expose a design? Do you need to build a lightbox? How should you wash the emulsion off? These are the questions we’ll try to answer in this post.
Getting Your Screen Ready
Before anything else, you’ll need a screen that has been coated with a thin, even layer of photosensitive emulsion. You can do this yourself or you can purchase screens that already have emulsion on them.
The screen, once coated with emulsion, is typically dried overnight in a dark room or container. Humidity should ideally be somewhere between 30 and 40%, so some ventilation is important, but so too is the need to keep dust off the screens as they dry. Once dried, you can then begin transferring your design onto the screen.
Achieving a Clear Picture
It’s important to remember that photosensitive emulsion is sensitive to light. This means that if your design allows even a small amount of light to pass through somewhere it shouldn’t, then the design may not appear as clear or as detailed as you’d like it to be. In order to ensure a clear and detailed design, make sure that your design is printed on high quality transparent film with solid black ink. The solid black should totally block out the light so as to produce a clear and detailed image.
Getting Ready for Exposure
Once you have your screen and design printed on film ready, it’s time to prepare for exposure.
There are many tutorials out there that suggest exposing your design indoors with a lightbox or some high intensity light bulbs, but the easiest option is to expose your design using sunlight. The sun is a powerful light source and it won’t cost you a thing! Take care that you don’t expose the screen to too much indoor lighting before you place the film on it, ready for exposure.
There are two main ways that you can expose your images using sunlight:
- You can place a large book or similarly shaped support underneath the screen, and on top of the screen place your film with your design front face down. Then, place a large piece of glass or transparent plexiglass on top of the film. The glass or plexiglass will ensure that the film stays in place while allowing light to pass through to the film; and the book or similar support underneath will ensure that the screen will not endure much pressure from the weight of the glass on top.
- If you’d prefer not putting any type of weight on top of your screen or don’t have glass or plexiglass available, then you could opt to use spray adhesive instead. Use a spray adhesive to glue the film on top of the screen, making sure to leave some space around the margins of the film. Do not spray excessively, just enough to hold the film in place. Once it is in place, you can put your screen out under the sun. However, it is worth noting that spray adhesives a) add to cost, b) add to green house emissions through use of propellants and c) create aerosol particles of adhesive in the atmosphere that are not good for your long term health nor cleanliness in the workplace, so for all these reasons, they are products that we try to discourage.
Let your screen and film sit under the sun for about a minute and a half. It doesn’t need to take any longer than that as the sun is a powerful source of light, especially around midday.
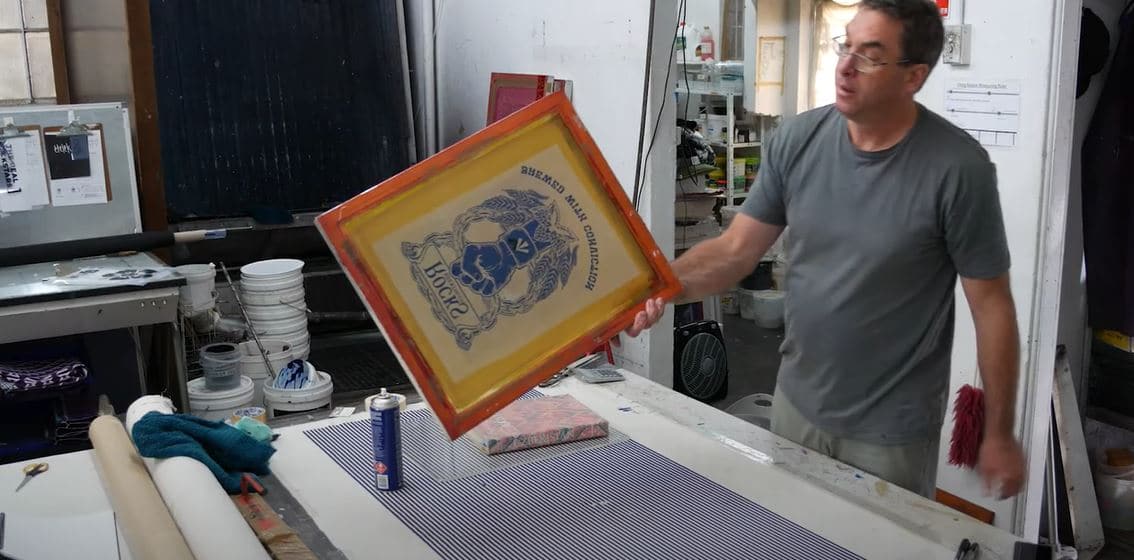
Revealing Your Design
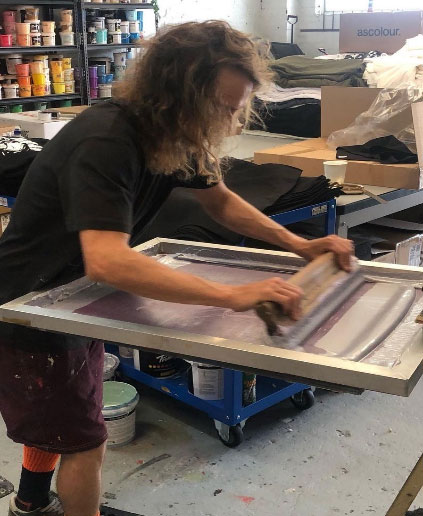
Once done, peel off the film and wash out the screen with water from a regular hose until the design appears. Use water at room temperature and spray generously. You could also use a large sponge and lightly rub the surface of the wet screen to speed up the process of revealing your design. After a few minutes of spraying and rubbing, you should start to see your design on your screen. You should try to capture your screen washings and dispose of responsibly.
Once you’re happy with the image, dry off any excess moisture and allow the screen to dry thoroughly before using it to print. If you’re taking on a long print run, it wouldn’t hurt to leave the screen in the sun for another spell to help make the remaining stencil even harder and more resistant to wearing out under the squeegee.
Visit our online store for all the eco-friendly inks that you’ll need for your next project.
© COLORMAKER INDUSTRIES 2022
Subscribe to get the latest inspiration, news & advice direct to your inbox
More articles
 @imearthie
Clothing label I’m Earthie shares how they strive to be a truly sustainable brand
Clothing label I’m Earthie shares how they strive to be a truly sustainable brand