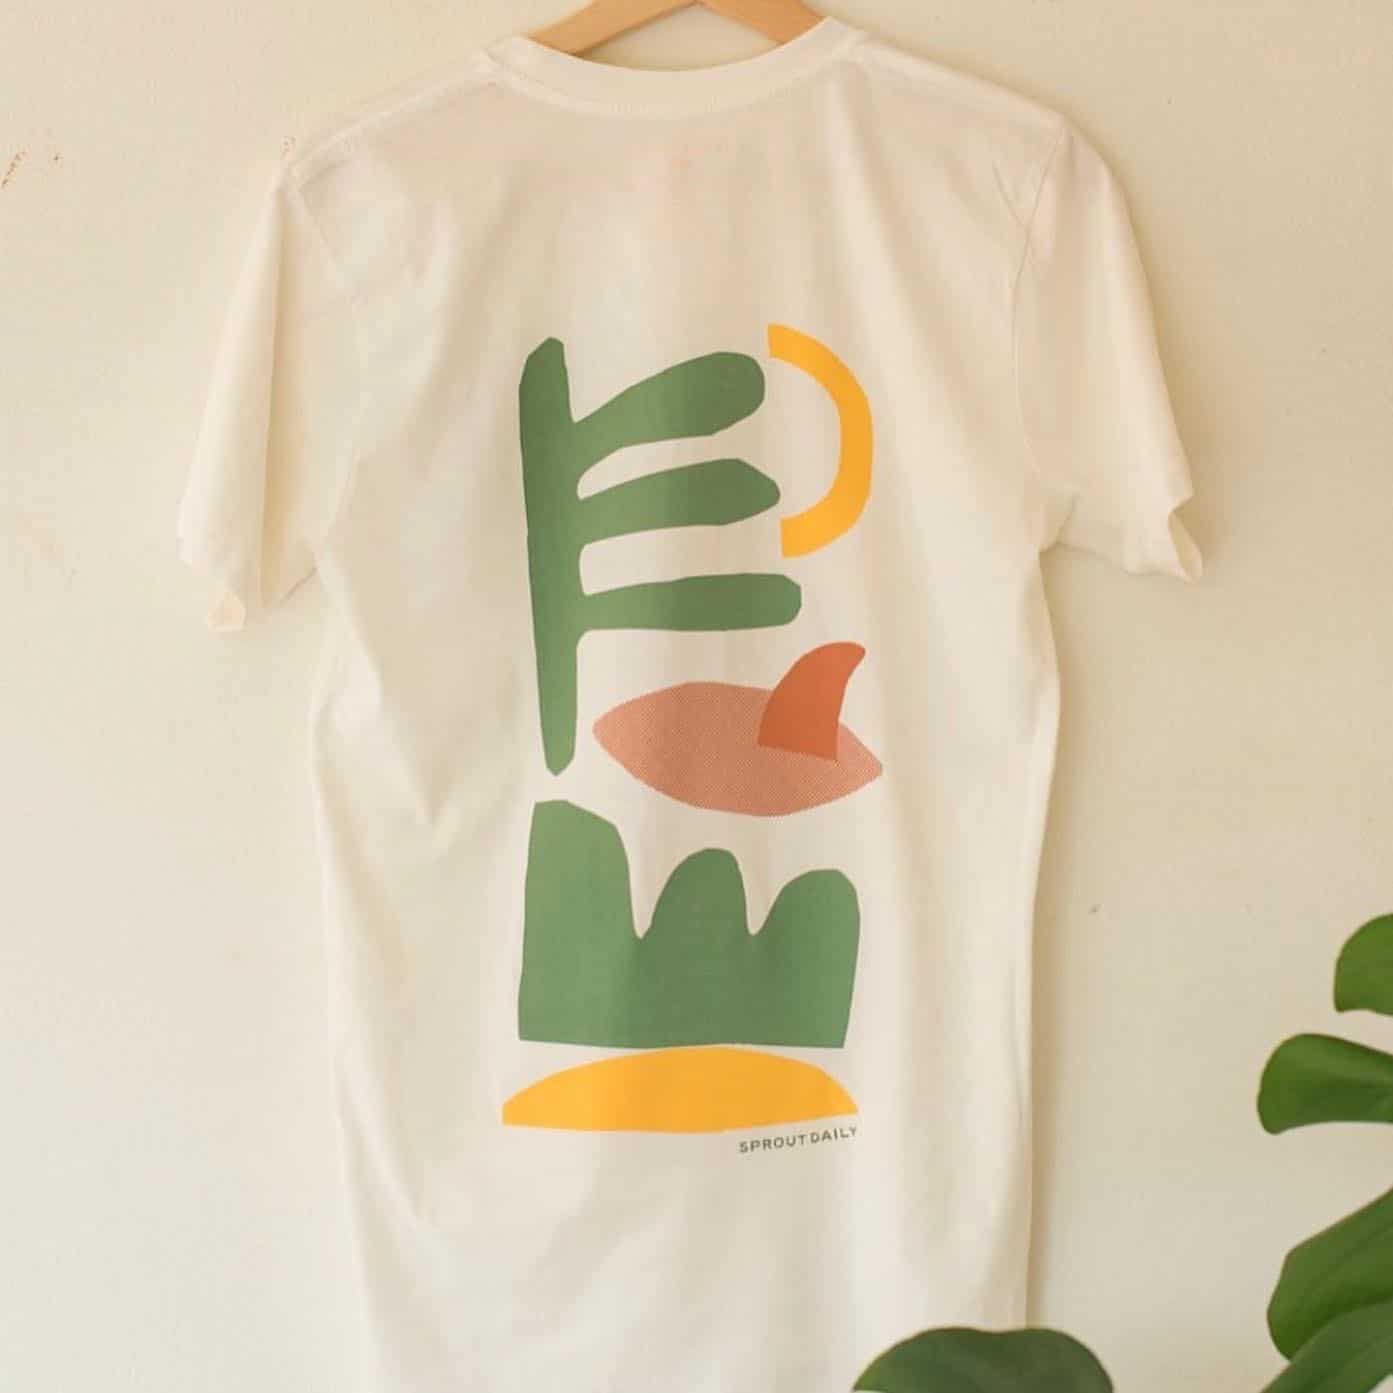
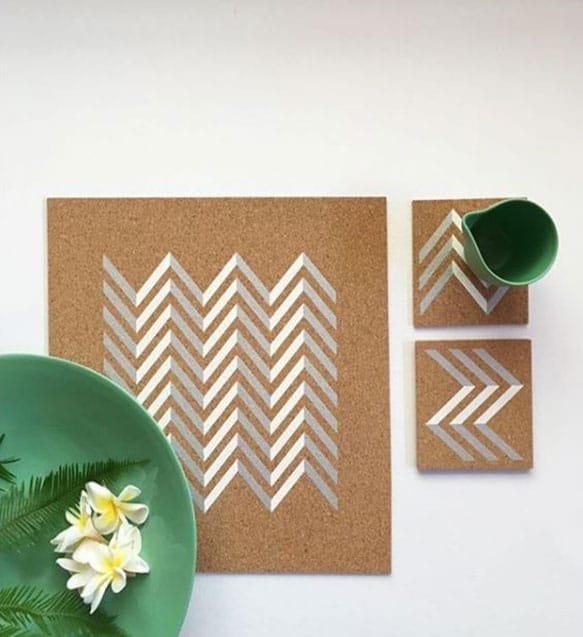
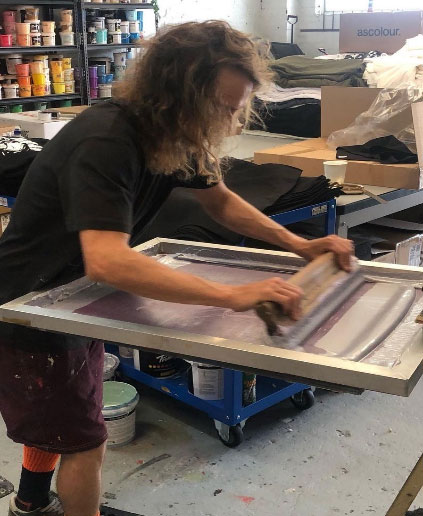
Screen printing your own T-shirt is a fantastic way to express your individual style, plus it’s inexpensive and easy too! Start off with a simple design. Practice the technique and you’ll soon have family and friends clamouring for you to make T-shirts for them too.
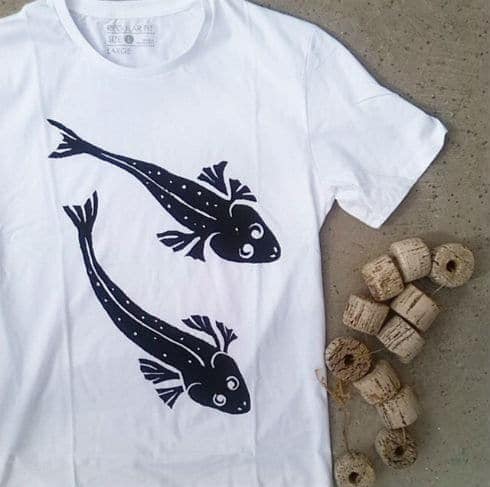
This T-shirt was designed and screen printed by Sea Urchin Design in Tasmania. You too can achieve a great print like this if you follow our easy steps in this article.
Here’s how to screen print in six easy steps.
1. Gather your materials
Choose non-toxic, water-based ink for fabric printing and buy a ready-made screen from a craft store. You can also make your own screen by using a canvas stretcher frame, stretching mesh over it and stapling it firmly to the sides.
You’ll also need a squeegee or a hard piece of plastic, plain paper, a craft knife, a roll of masking tape and your T-shirt. While it’s possible to screen print on most fabrics, a basic cotton shirt is the easiest option to start with.
2. The set up
Draw your design on paper (you can purchase special stencil paper from an art shop if you like but this is not essential) and cut it out with a craft knife so that you have a stencil to work with. To get your screen ready to use, take your masking tape and place it around the edges, so the ink can’t seep over the sides of your stencil. If you’re not sure you’ve done it properly, test it out on a piece of scrap paper by using a blob of ink and the squeegee or a paint brush to see how it turns out.
3. Get ready to make a textile print
The most important thing about getting ready to print is to ensure your T-shirt is on a flat surface and that your stencil is positioned exactly where you want the artwork to appear. Take your time to match up the edges with the sides of the shirt and align your pattern in the desired spot.
When you’re ready, have your squeegee (with a nice, sharp corner) close by and put about a tablespoon of ink across the top of the screen in a straight line. Hold the screen down with one hand and put the squeegee above the ink. Pull your squeegee down the screen firmly at almost a vertical angle (nothing over 15% off vertical), which will take the ink with it over your stencil. Repeat once and put the squeegee to the side.
Take a look at this great YouTube video by Handprinted UK, which shows simple screen printing using stencils
4. Finish your screen print
This is the last step before you’re ready to reveal your new T-shirt. Simply hold the fabric down with one hand and lift the screen up from the bottom quickly, being careful to pull it away without dripping ink on your shirt or smudging the design.
5. Cleaning up
If you decide you love textile printing and you can’t wait to do it again, you’ll need to wash your equipment straight away.
Throw out your paper stencil and wash the screen with cold water and a sponge to ensure all the ink is removed, then leave it out to dry completely before using it again.
6. Curing your print
Before you can wash your T-shirt, you’ll need to cure the print with some heat.
You can cure your print by passing it through a special heat tunnel, or you can simply use an iron and a piece of brown paper. Let the print air dry, then place the T-shirt print face up onto the ironing board. Place a piece of brown paper or baking paper over the print. Set the iron to ‘Medium’ and iron over for around 1 minute. Take a short break, then iron over the print again for a further 30 seconds. Voila! Your print is cured.
Now you’re ready to try more complex designs for your next screen printing creation!
For further tips and to learn more, visit PERMASET Tutorials.
© COLORMAKER INDUSTRIES 2021
Subscribe to get the latest inspiration, news & advice direct to your inbox
More articles
 @imearthie
Clothing label I’m Earthie shares how they strive to be a truly sustainable brand
Clothing label I’m Earthie shares how they strive to be a truly sustainable brand
